
Most of the crates I see in client living rooms were bought right, then set up wrong — bare wire, a thin towel, door slammed shut on day one because someone read that dogs need 'structure.' The crate in these photos took about twenty minutes to build and considerably longer to actually earn its keep, because a wood top and a soft bed don't make a dog love a crate — they just remove every reason not to. This is the setup I'd walk a client through in their living room, step by step, from the first strap to the day you leave the door open and find your dog in there on their own.
Start With the Frame, Not the Rules
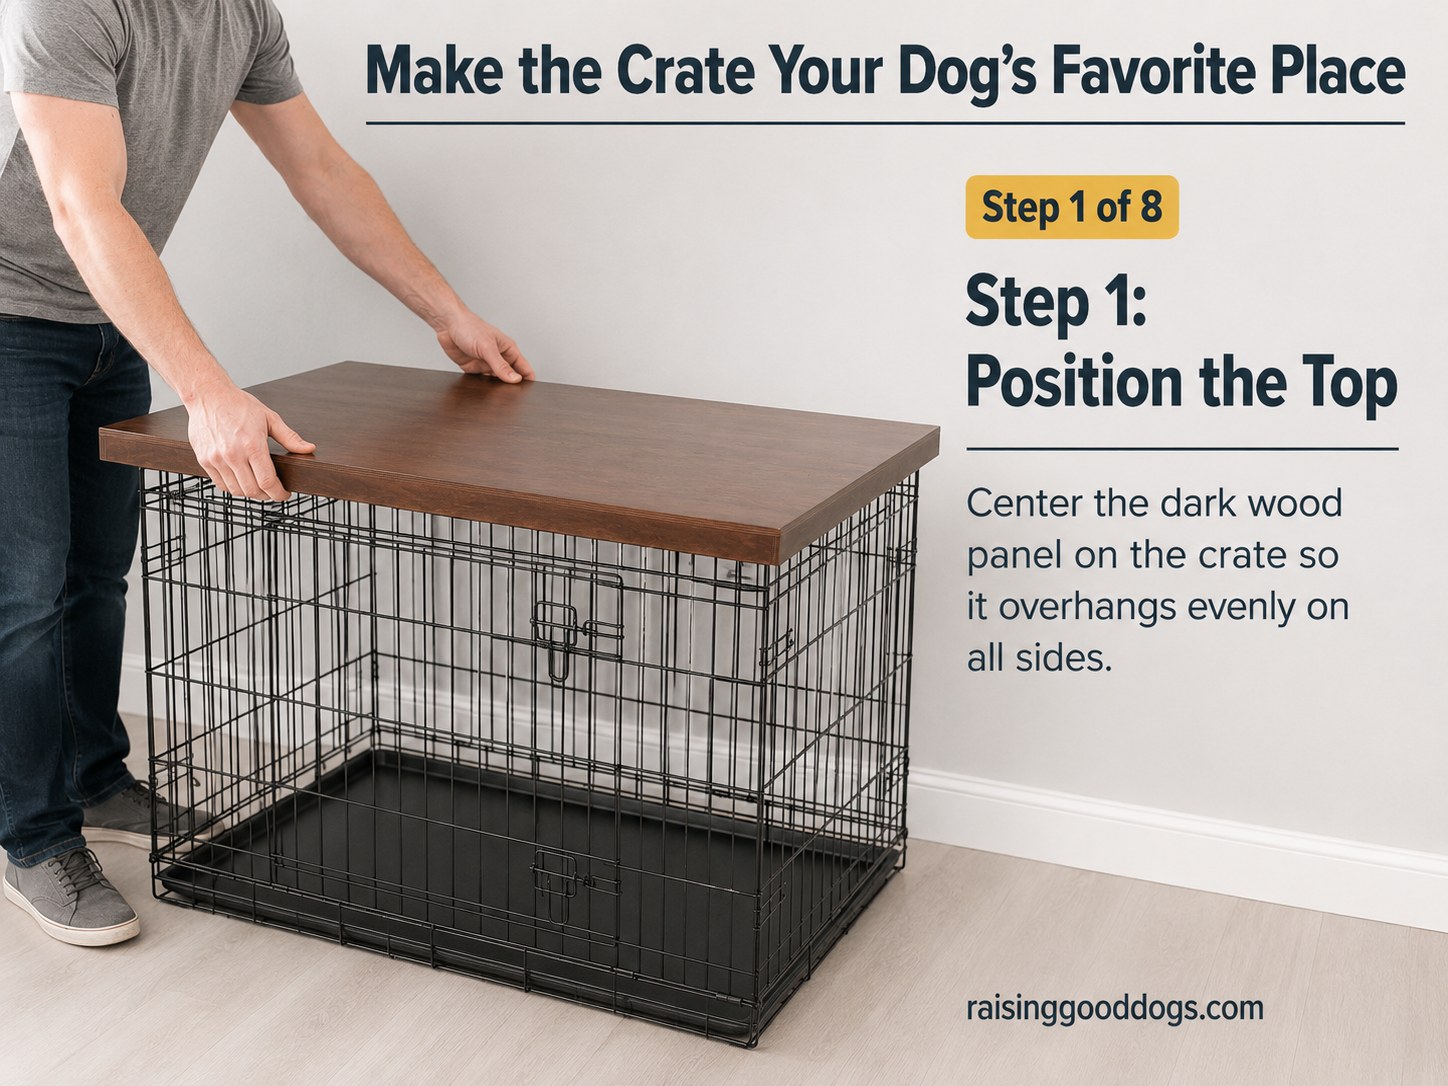
The first step in this crate makeover happens before your dog is anywhere near the room, and that's exactly the point.
Center the dark wood top panel over the wire crate frame so it overhangs evenly on all four sides — not because it needs to look like a piece of living room furniture, though it will, but because an uneven overhang is the first thing a dog's shoulder or the door latch will catch on later. I've seen enough wobbly crate covers in client homes to know that furniture-style crates fail their dogs at the setup stage, not the training stage.
- Check the fit before you fasten anything — the panel should sit flush without pressure on the frame.
- Do this with no dog in the room. There's no reason for your dog to watch or help with step one.
Nothing about this stage requires your dog's cooperation. Save their attention for later, when it actually matters.
Stability Comes Before Comfort
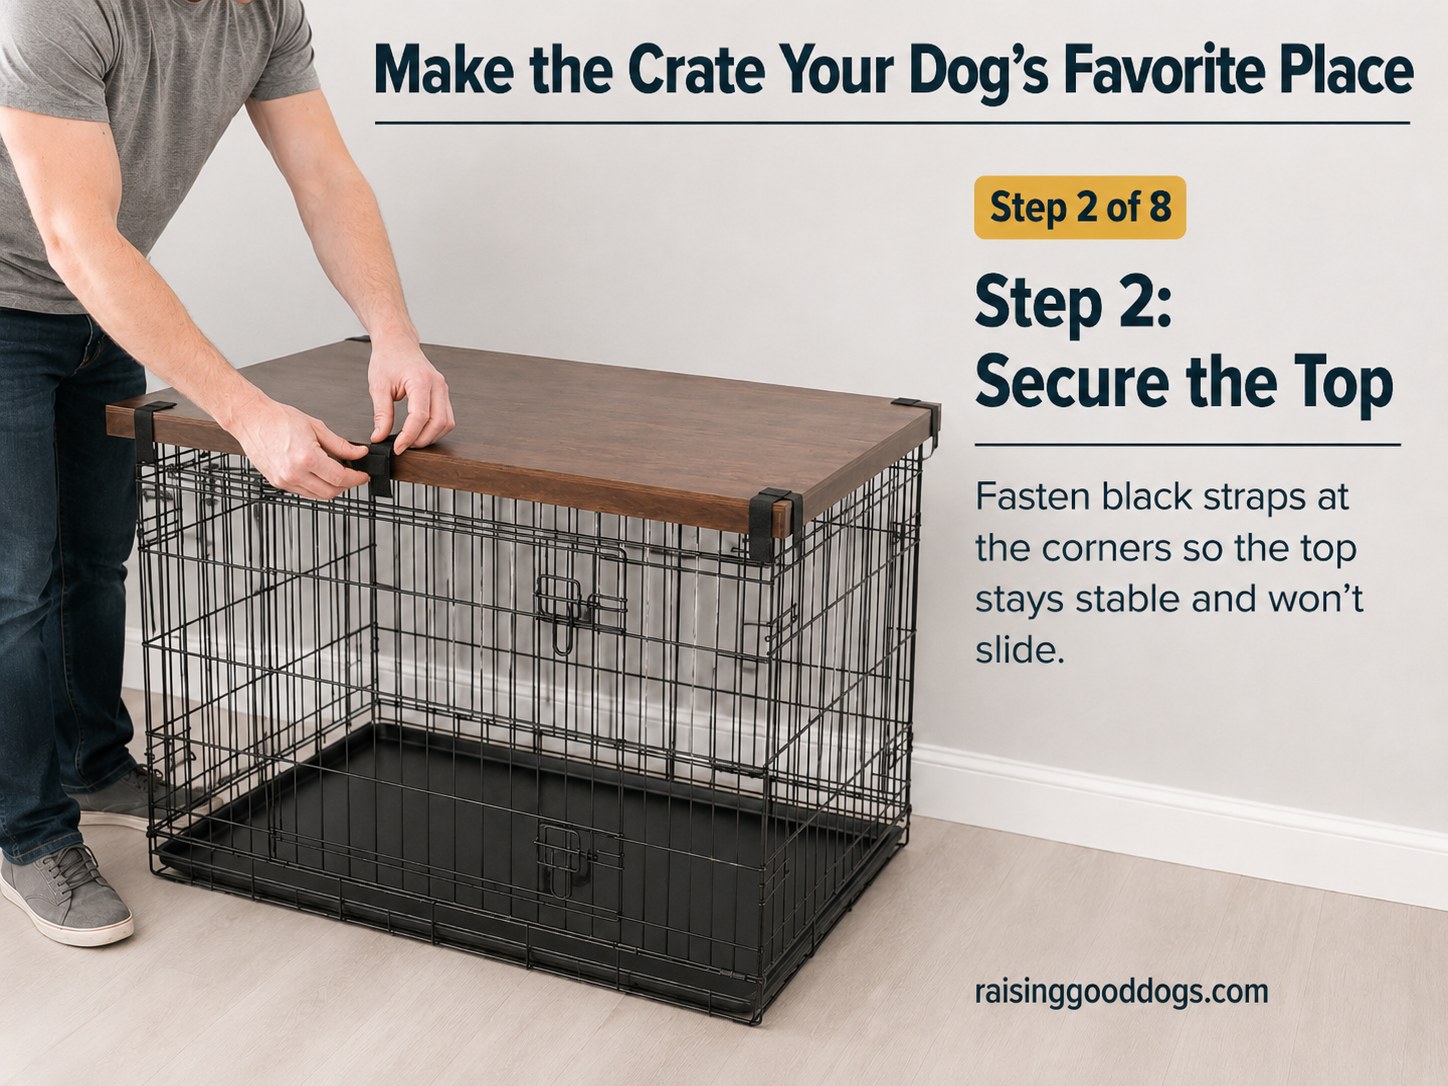
Once the top is centered, fasten the black straps at each corner so the panel can't shift when your dog leans, scratches, or decides to stand up too fast inside and bump the ceiling.
This step is easy to rush, and I get why: it's not glamorous, it's just tightening straps. But a crate top that flexes an inch when a seventy-pound dog shifts their weight is a startle waiting to happen, and startle is the opposite of what we're building toward. A den has to feel structurally boring to a dog. No surprises, no give, no rattle.
Test it yourself: push down on each corner before moving on. If it flexes, tighten again. You're removing every reason for your dog to distrust the space before you ever ask them to spend time in it.
The Bed Isn't Decoration
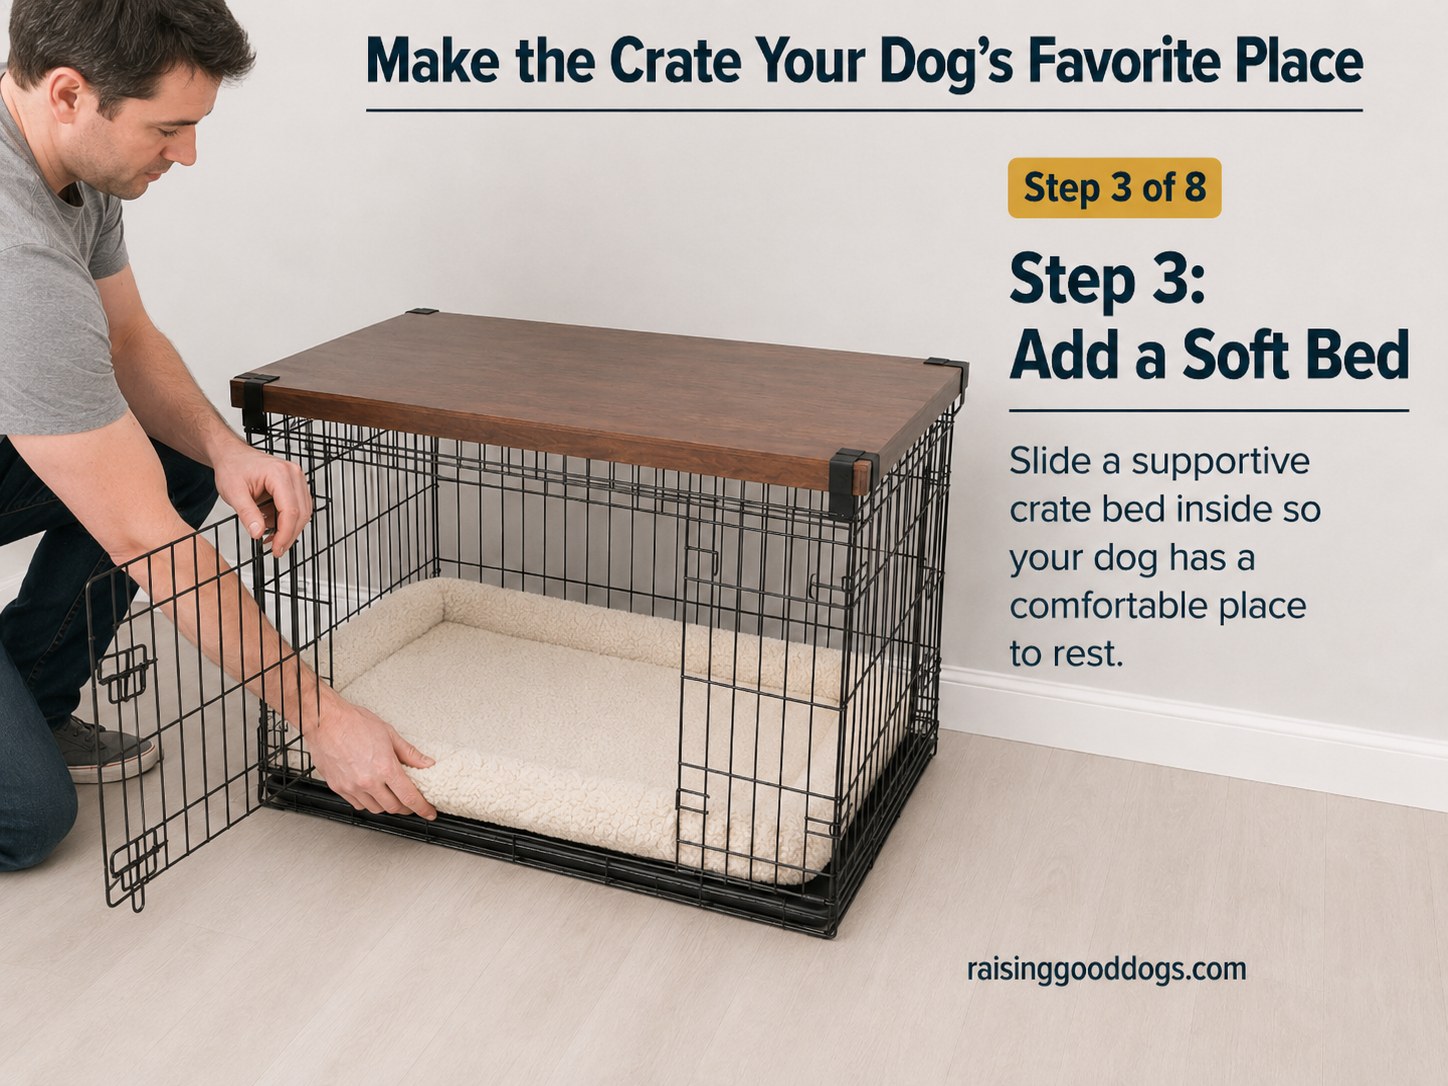
Slide a supportive crate bed into the frame, and take a second to actually feel it the way your dog will — kneel down, press your palm into it.
I'm particular about this step because of Bruno. At twelve, with the kind of hips that have opinions about weather, a flat pad isn't kind to him anymore, and it wouldn't have been ideal even before the arthritis. Dogs rest in a crate for stretches of time you can't supervise, so the bed needs to actually hold a joint the way a couch cushion does for you.
- Supportive, not just soft — press down and check it doesn't bottom out to the wire floor.
- Sized to fill the footprint — a bed with gaps around the edges invites chewing at the corners.
Notice whether your dog is a curled-up sleeper or a full-stretch sleeper, because that affects whether this bed size actually works for them long-term.
Texture and Temperature
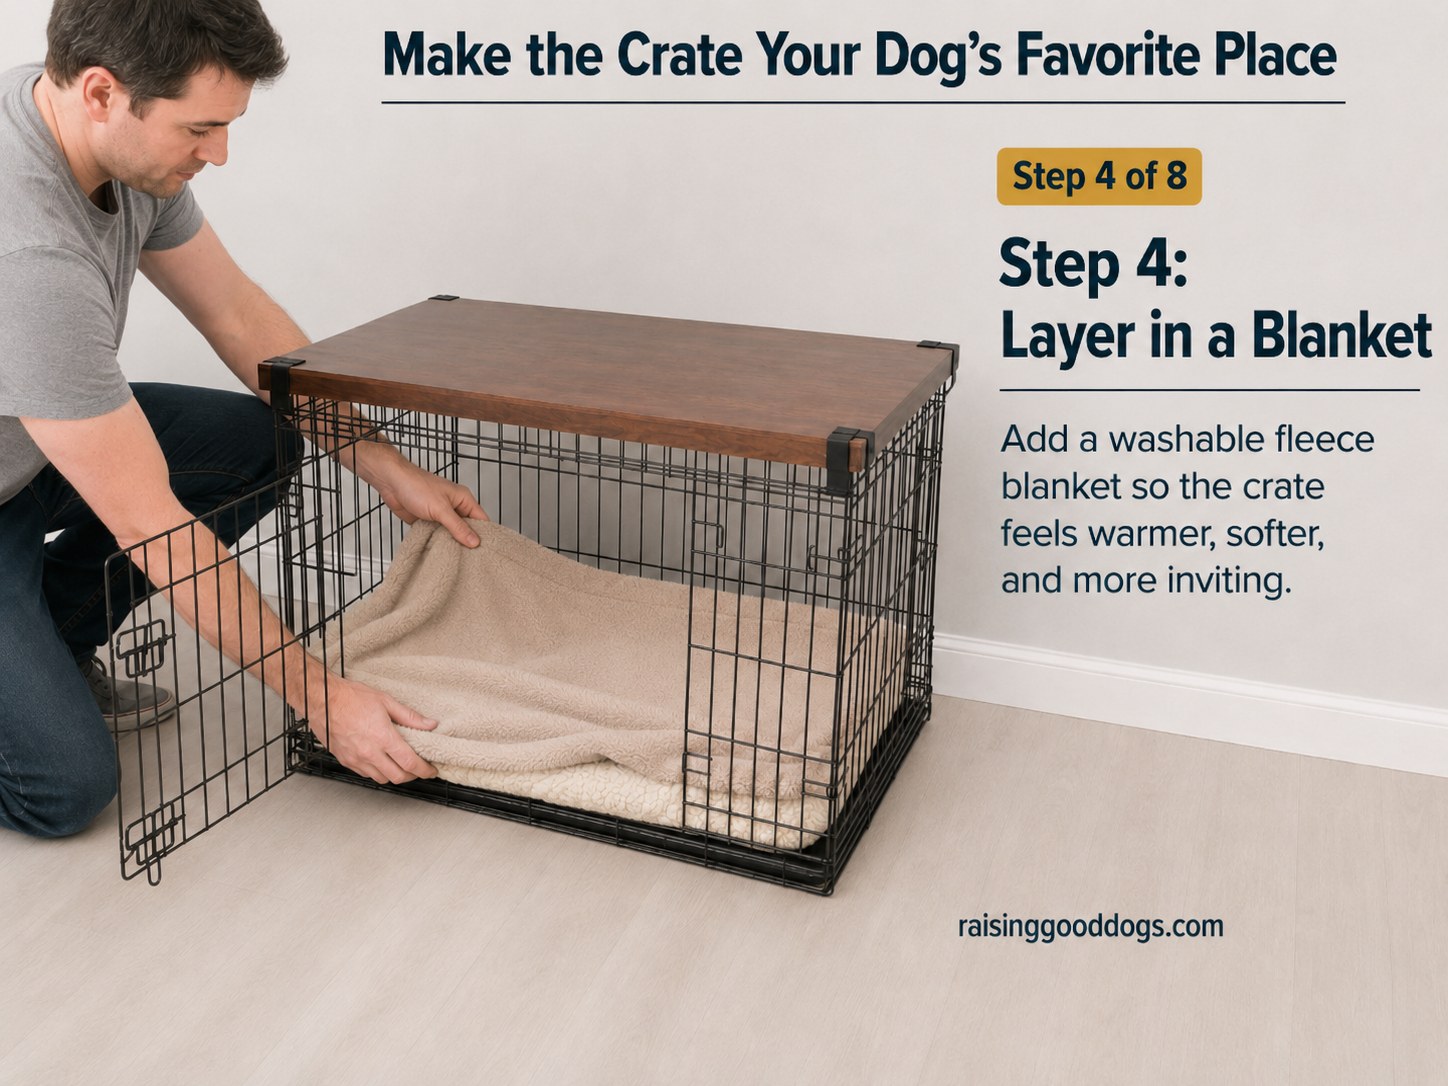
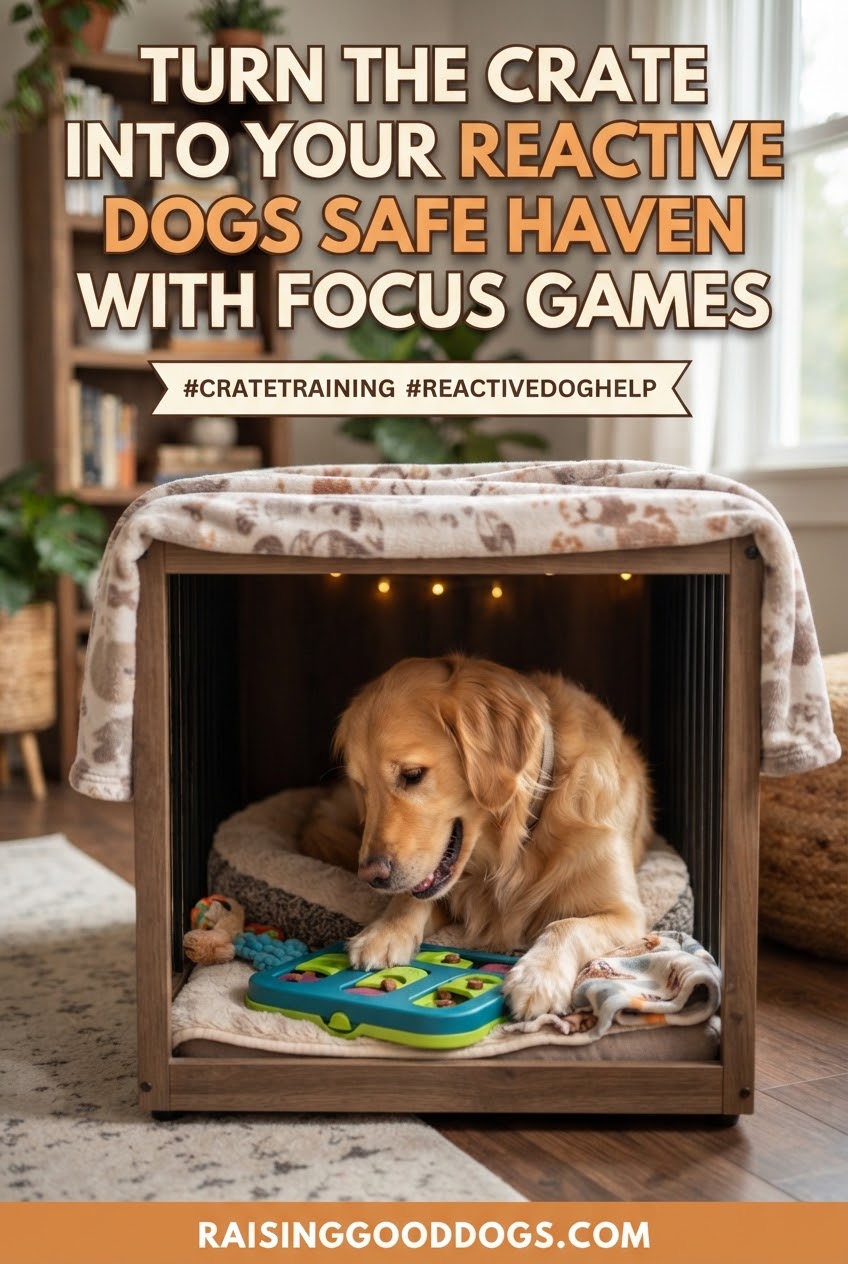
Layer a washable fleece blanket over the bed, and I mean washable in the literal, load-it-weekly sense — crates get dirty, dogs get muddy paws, and a blanket you're afraid to wash is a blanket that stops getting washed.
The blanket does two jobs at once: it adds warmth for dogs who chill easily (thin-coated breeds, seniors, anyone recovering from surgery), and it adds a texture that reads as nest rather than wire enclosure. Some heavy-coated dogs will push the blanket aside and lie on the cooler bed underneath in summer, and that's completely fine. Let them choose.
The goal was never a photogenic crate. It was a crate your dog picks on their own, without being told.
If your dog shreds fabric when left alone, skip this layer for now and reintroduce it once they've built some unsupervised crate time without concern — that's a management call, not a failure.
Turning Wire Into a Den
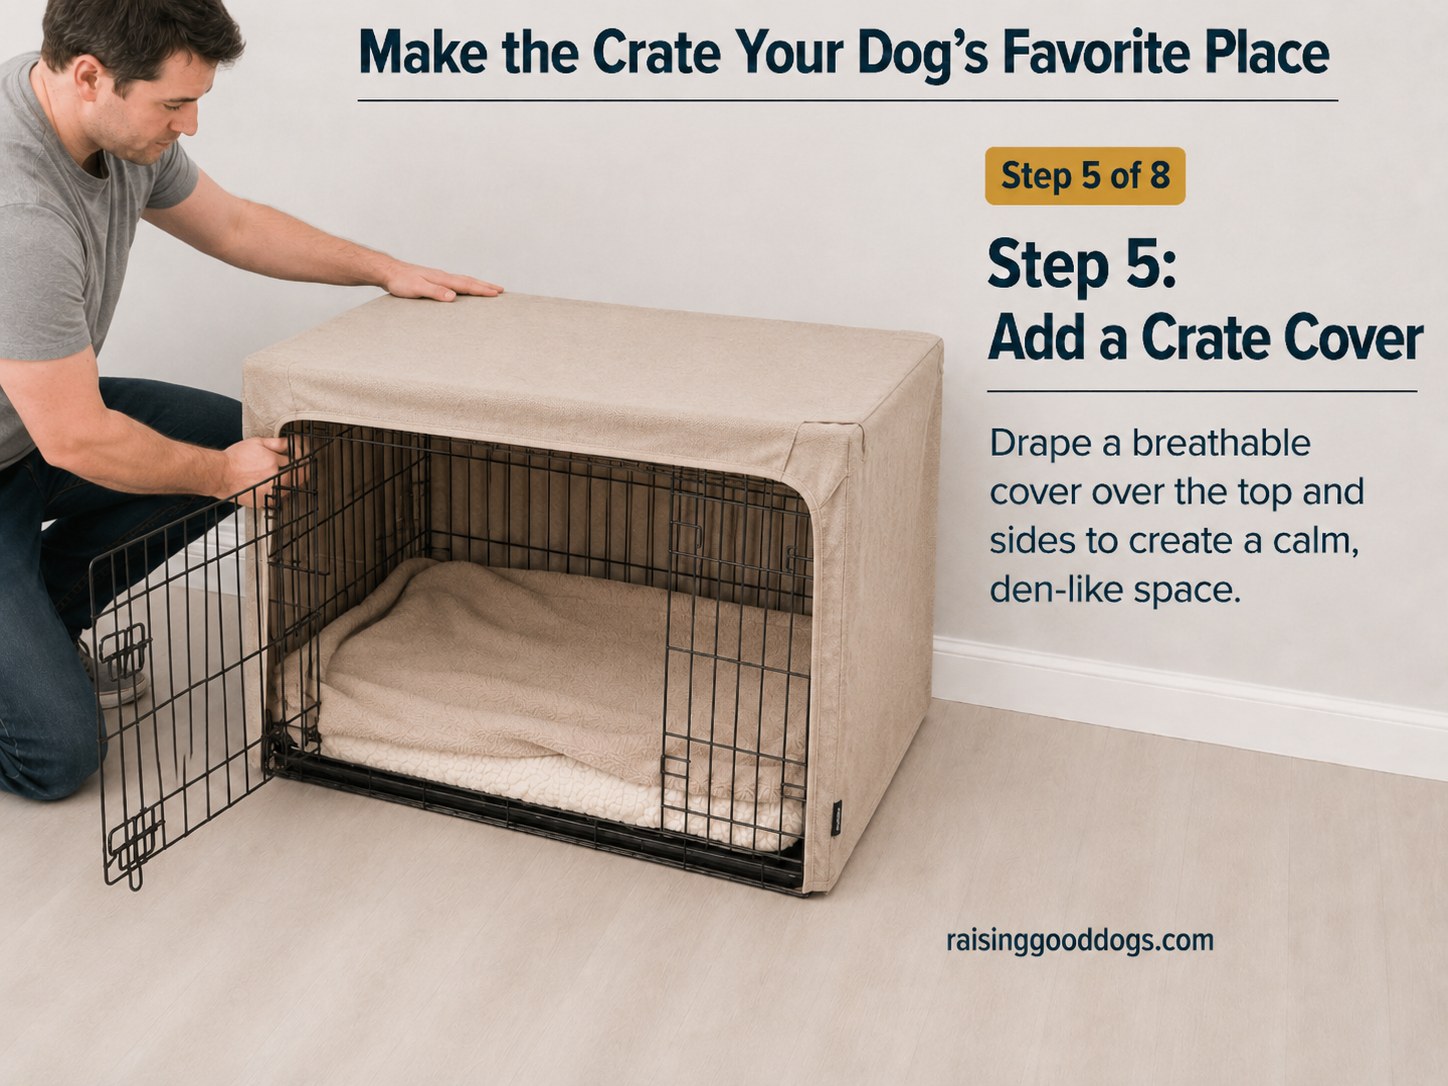
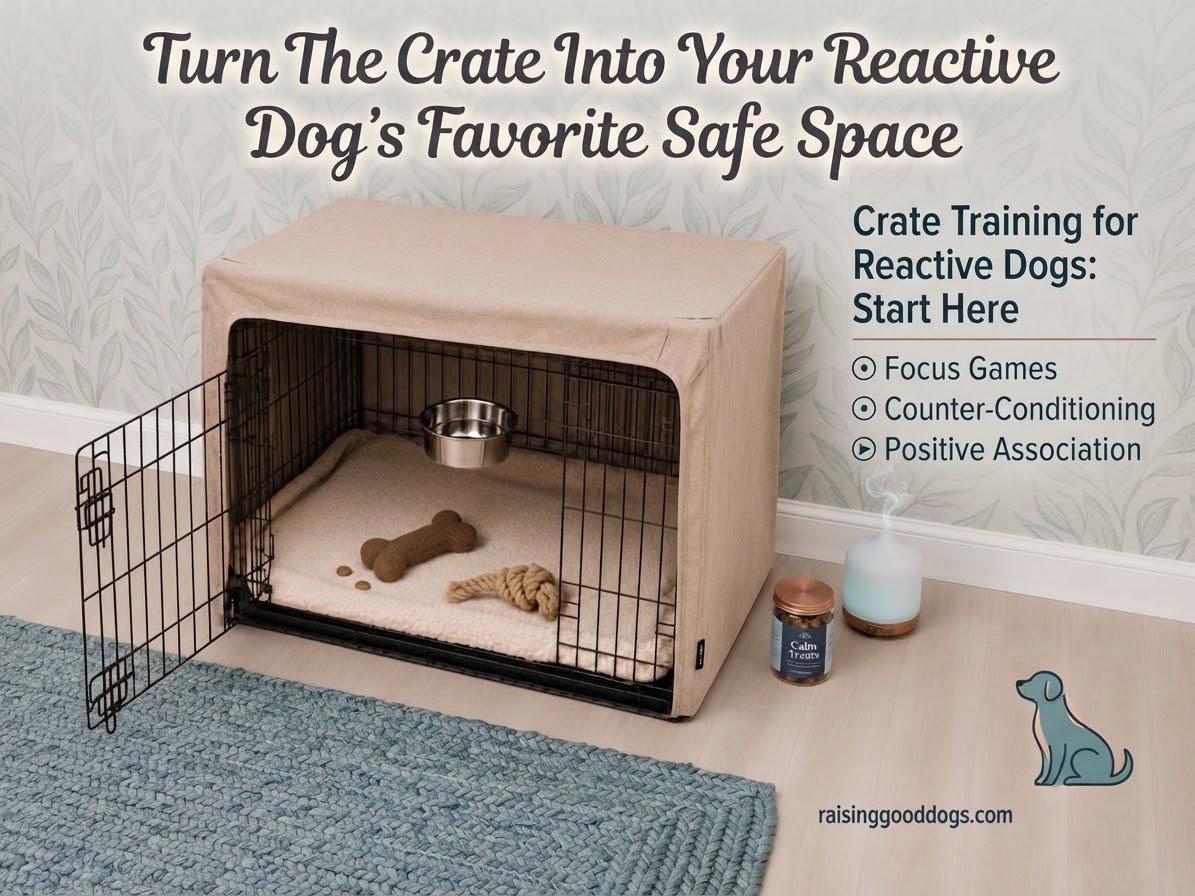
Draping a breathable cover over the top and sides turns an open wire box into something closer to a den, and for a lot of dogs that visual boundary does real work — it blocks the sightline to the hallway, the front door, the source of every reason to bark.
Watch how your dog responds, not how the crate looks
A fully covered crate is a comfort to most dogs and a source of low-grade panic for a few — the ones who need to see an exit to feel safe. Watch for panting with no heat source, pacing at the covered edges, or refusing to lie down once it's covered. Any of those means leave one side open, at least for now.
This is exactly the kind of prerequisite check I'd want covered before someone starts real crate training — a den only helps if the dog experiences it as one.
Give the Crate a Job
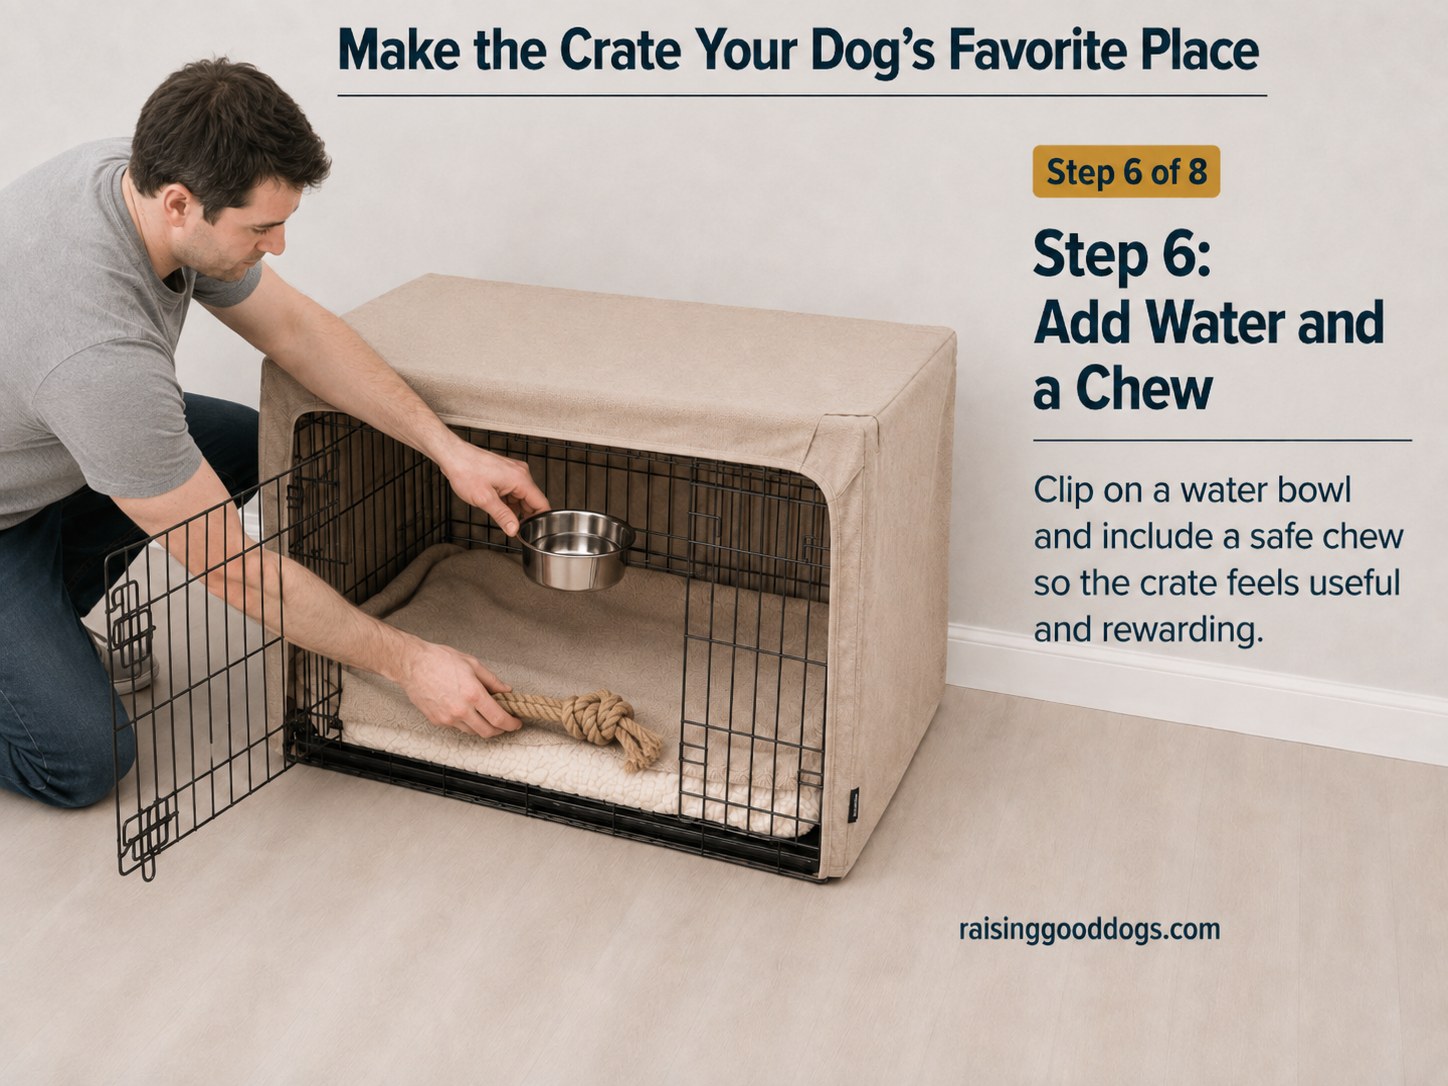
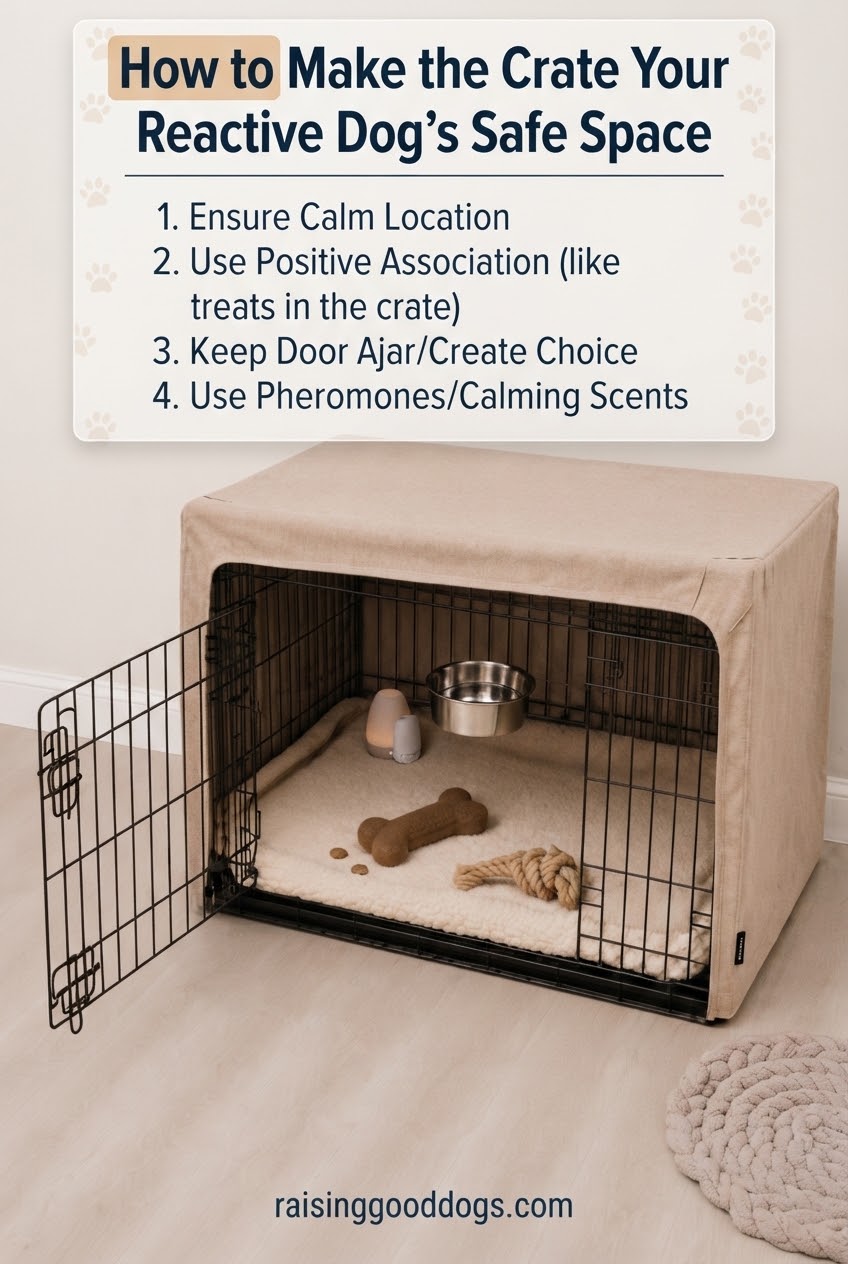
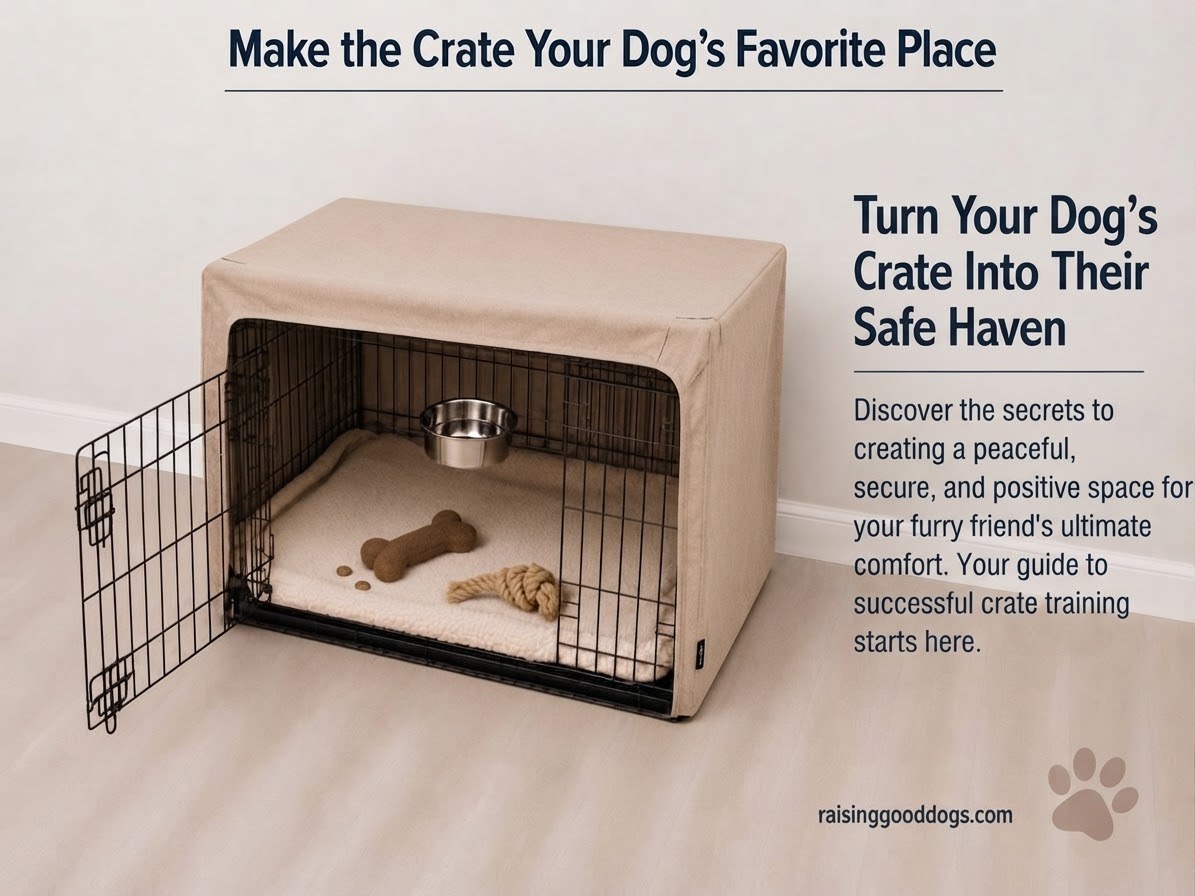
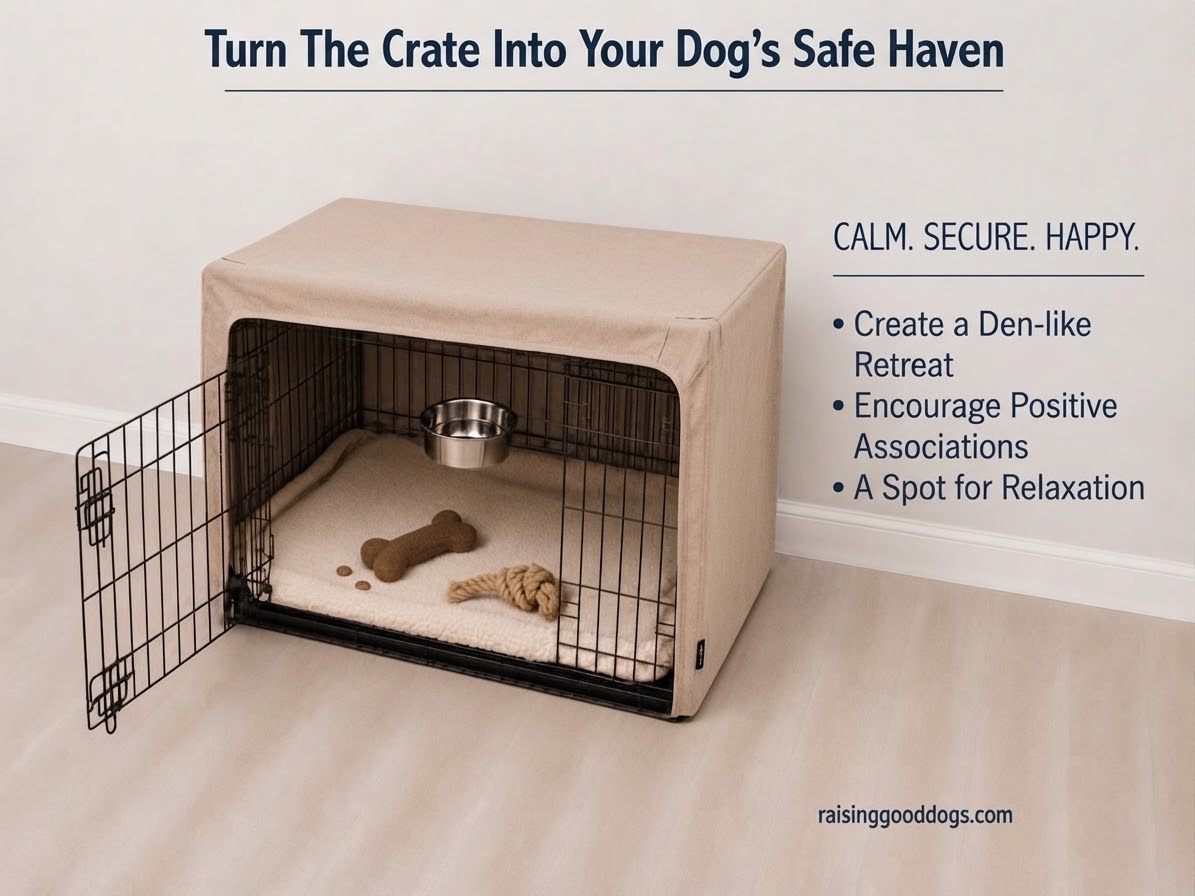
Clip a water bowl to the inside of the door and tuck in a safe chew, and suddenly the crate has a function beyond the place you go when asked.
- Water matters most for longer stretches — overnight, or any time you're out for more than an hour or two.
- A chew reserved only for crate time builds a specific association fast: this spot, this good thing.
One caution from years of behaviour cases: if your dog has ever guarded a chew or bowl from a person or another animal, this step needs a different plan, not a blog post. Resource guarding with any bite history is a case for an in-person certified professional, not a DIY fix — I say that with zero judgment, it's just outside what's safe to troubleshoot from a photo.
Building the Happy Association
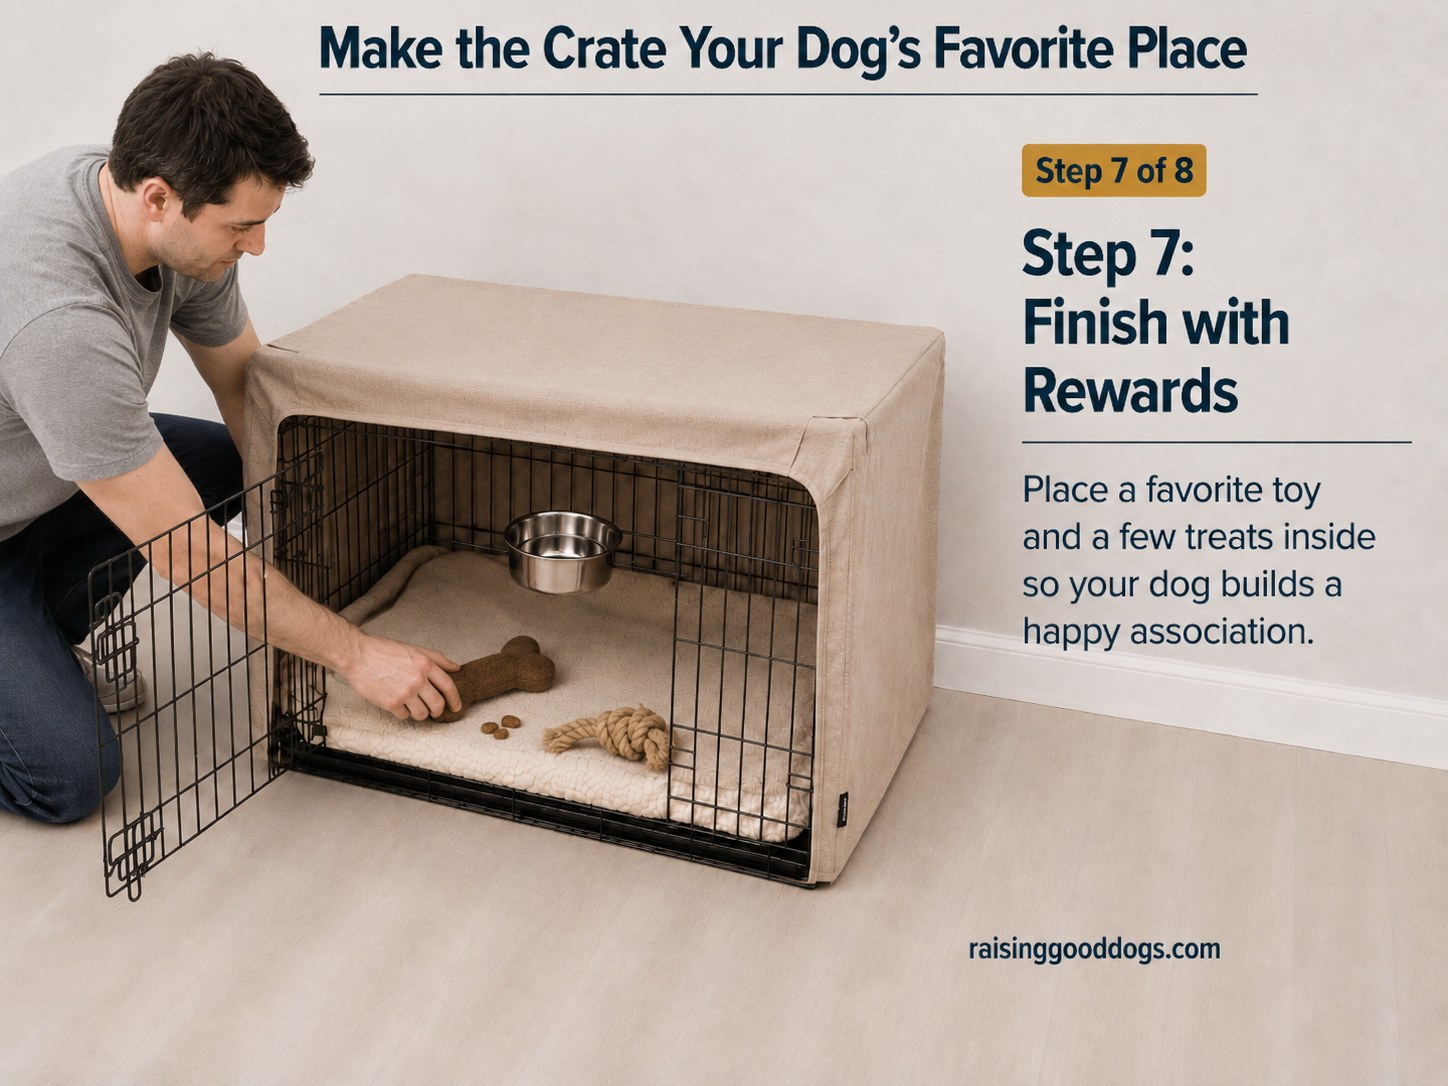
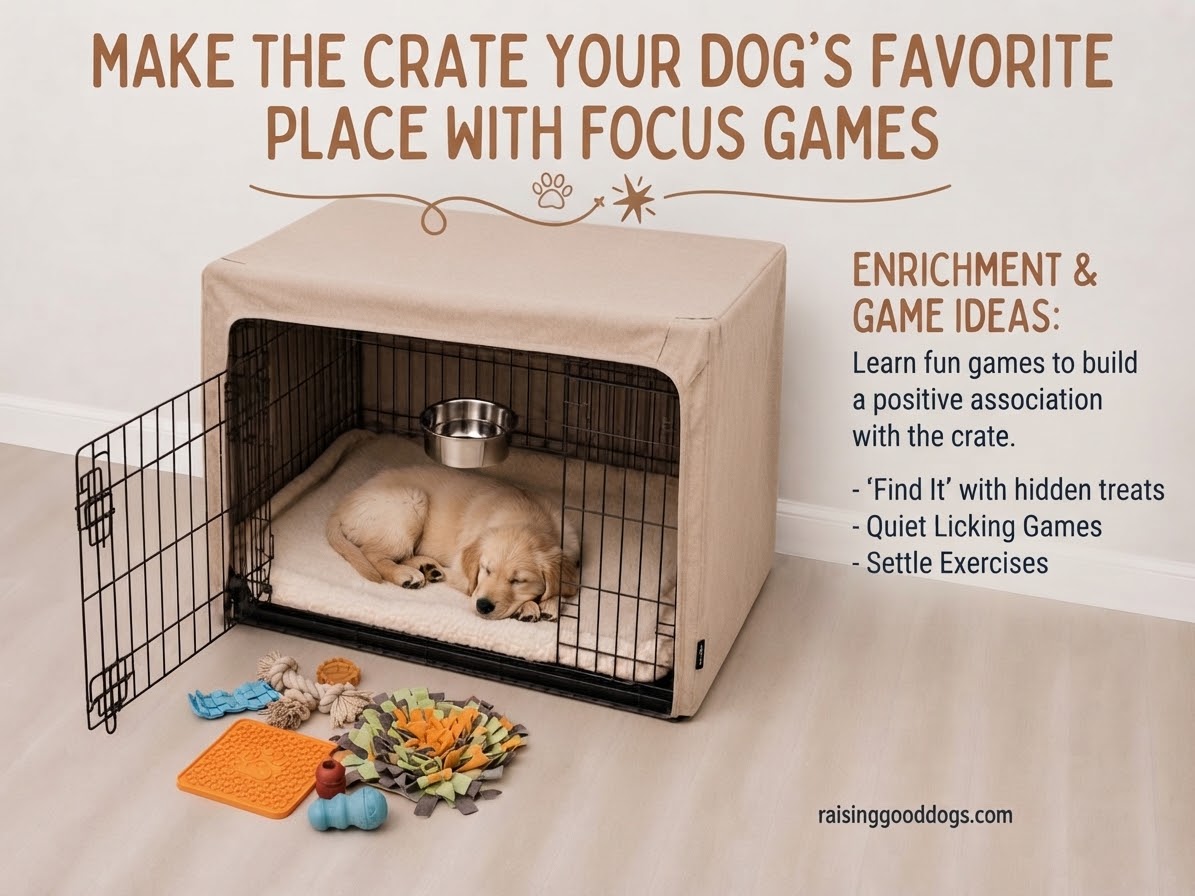
Toss in a favorite toy and scatter a few treats across the bed before you ever ask your dog to go in on cue. Door stays open. Nobody gets shut in yet.
This is classical conditioning at its simplest — the crate predicts good things, before it predicts anything else — and it works whether your dog has never seen this crate or has spent two years avoiding a different one. Let them wander in and out on their own terms while you're doing something else entirely.
- Scatter, don't pile. A single pile gets grabbed and carried out; scattered treats keep four paws inside longer.
- Repeat across several short sessions, not one long one — five minutes, several times a day, beats a single thirty-minute sit.
Some dogs take to this in a single afternoon. Others, especially ones with a rough history with a crate, need a week or two of nothing but treats and toys before the door means anything at all.
Now the Slow Part Starts
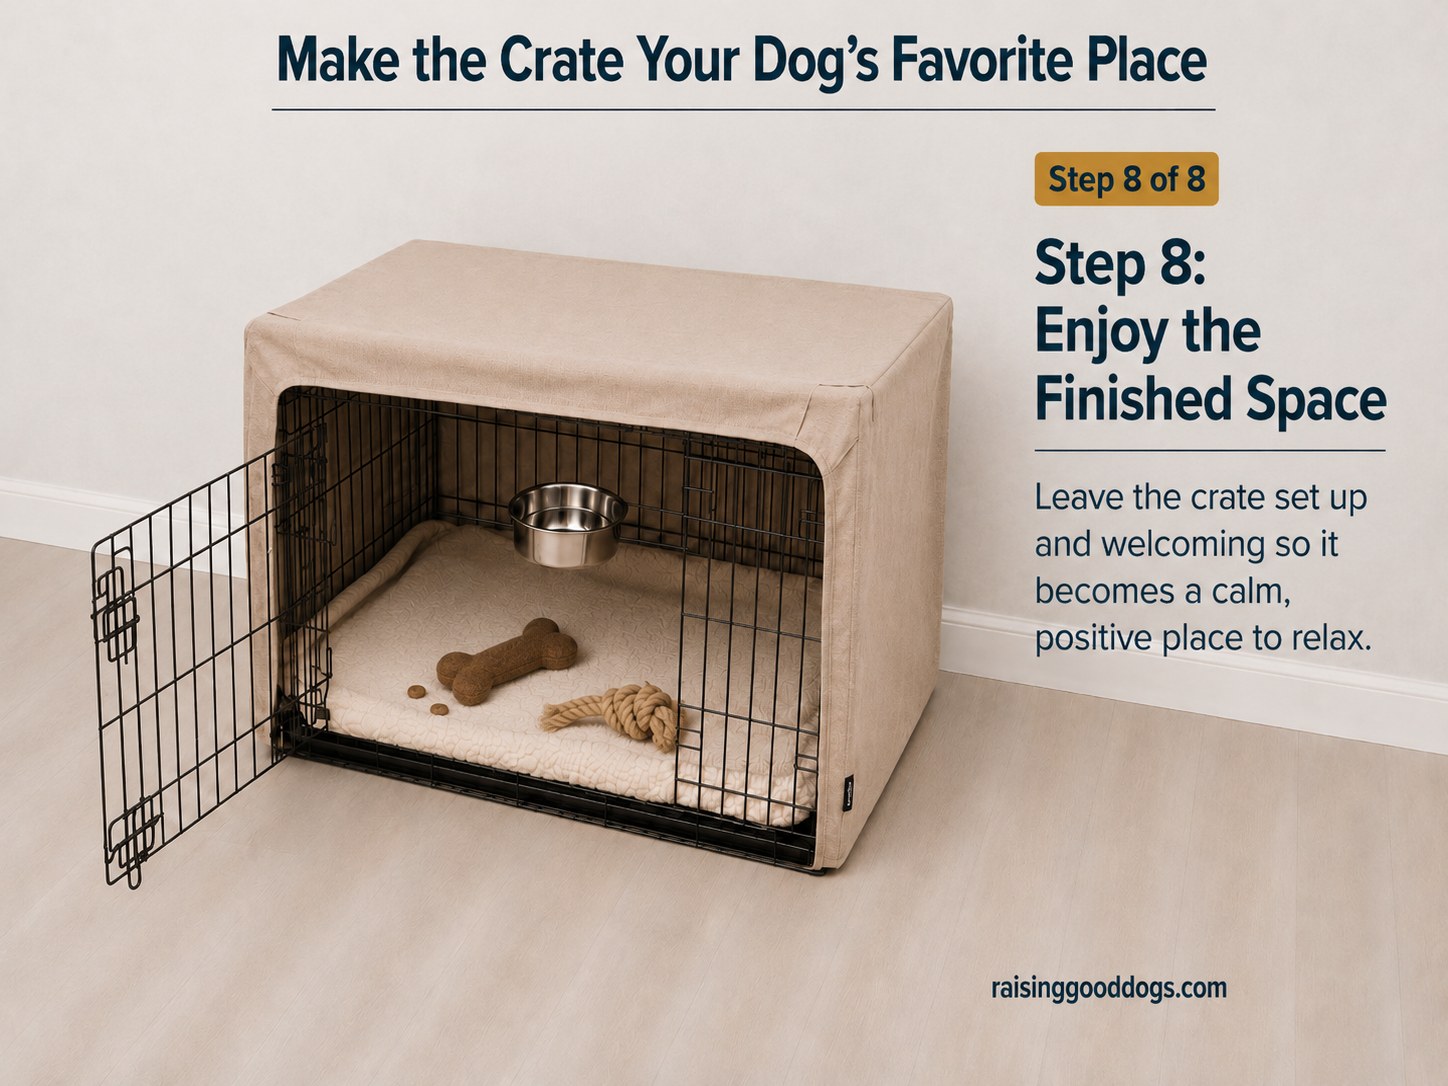
Leave it exactly like this — set up, uncovered enough for comfort, stocked with the bed, the bowl, and something to chew — and let it just exist in the room for a while before it becomes part of any routine.
This is the honest part: everything before this step was assembly. This step is where the actual work starts, and it's slower than the photos suggest. For most dogs I've worked with, a genuinely happy, settle-in-without-fuss relationship with a crate takes somewhere between two and six weeks of short, low-pressure sessions — longer if there's a history of being crated as punishment, shorter if this is a puppy meeting their first crate with no baggage at all.
- Watch for real distress — non-stop pacing, drooling, escape attempts at the door — and treat it as information, not stubbornness. Shorten duration and go back a step.
- Never use the crate as punishment, ever, for any reason. It has to stay a place your dog chooses, not one they're sent to.
- Sudden crate distress in a dog who used to be fine — especially an older dog — is worth a vet visit before more training. Pain gets mistaken for stubbornness far too often.
If your dog simply isn't a crate dog even after real effort, an exercise pen or a gated quiet room is a perfectly good alternative. The point was never the crate itself — it was giving your dog somewhere calm that's entirely theirs.
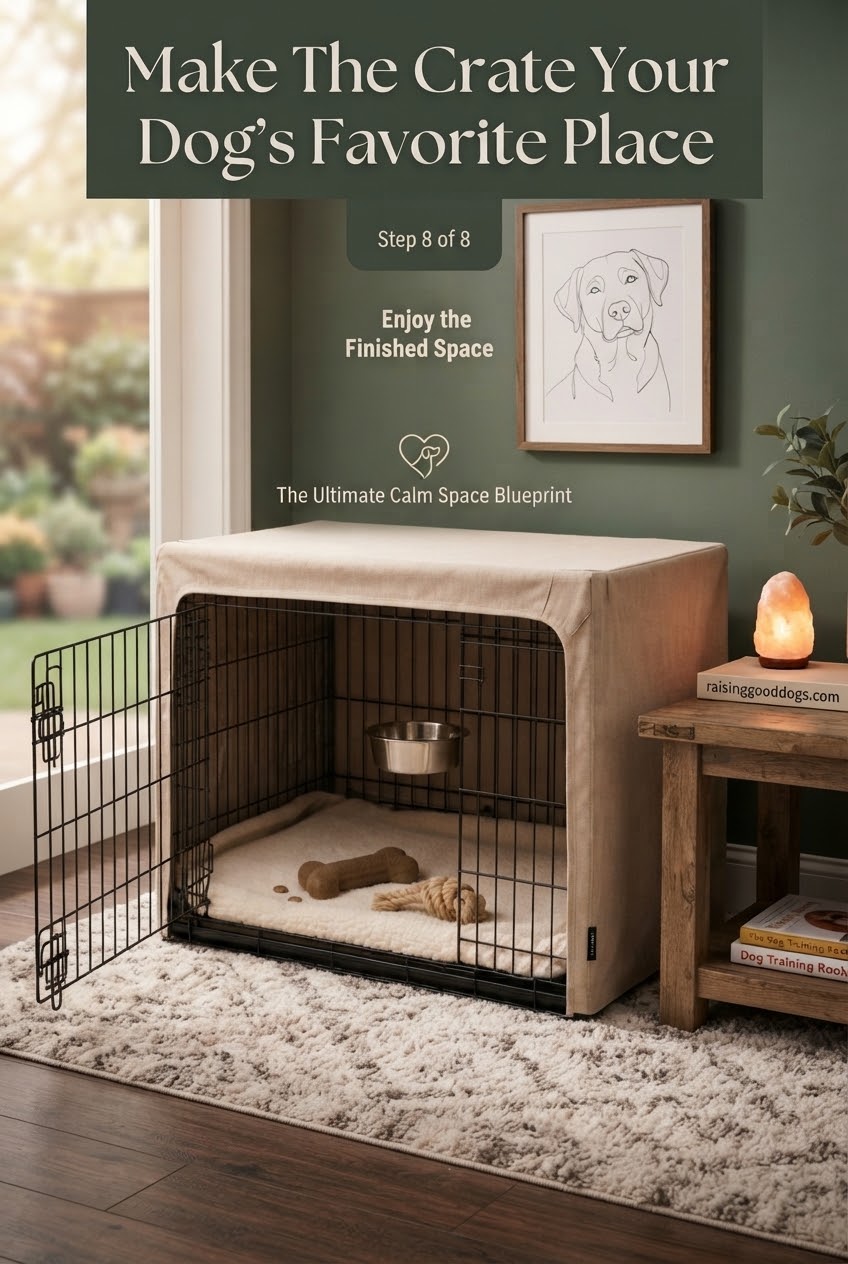
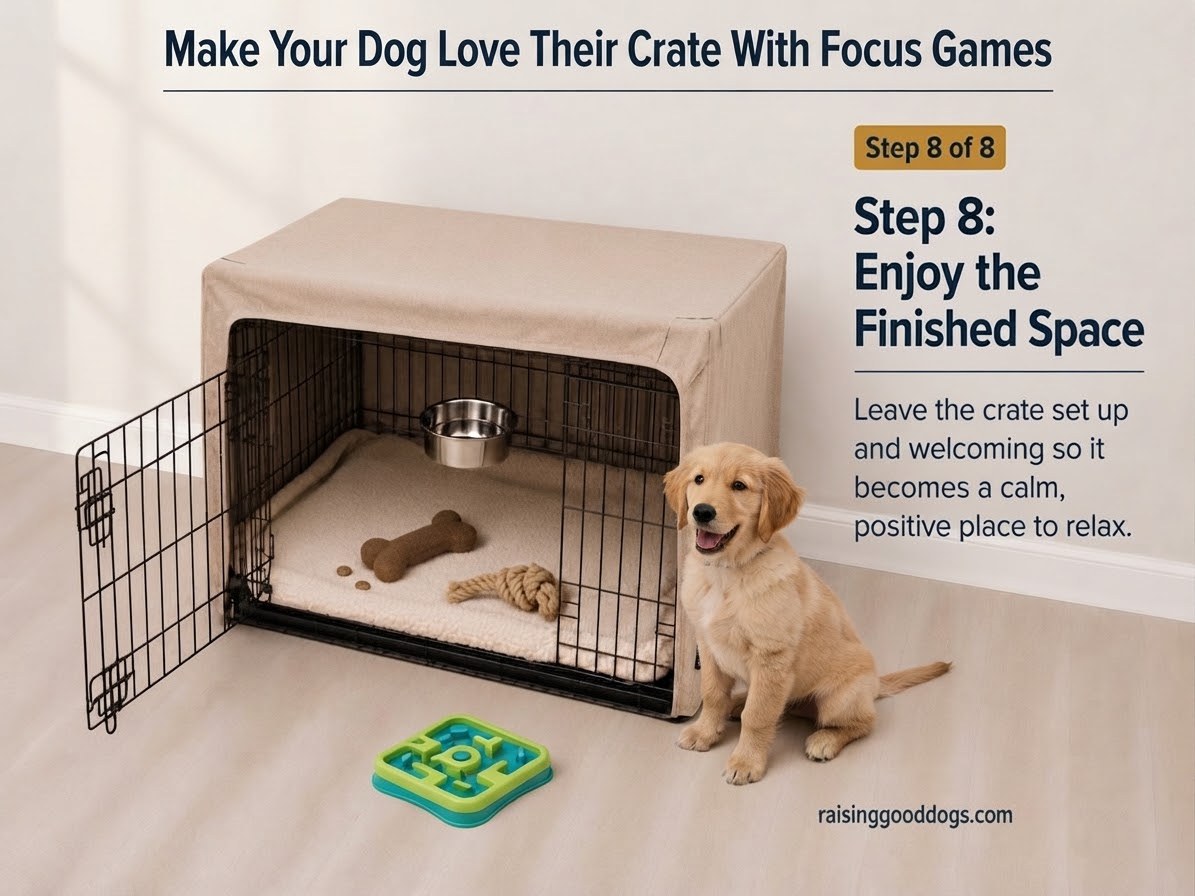
The finished crate in that last photo isn't a finished project — it's a starting line. Give it time, watch what your dog actually does with it, and resist the urge to close that door before they've chosen to walk through it a hundred times on their own.

- Materials & Tools




Frequently Asked Questions
How long before my dog actually likes the crate?
For most dogs, somewhere between two and six weeks of short, low-pressure sessions, longer if there's a history of the crate being used as punishment. There's no single-day fix, and that's normal.
My dog cries the moment I close the door — what does that mean?
It could be normal protest that fades with slower, shorter sessions, or it could be true confinement distress or separation anxiety, which needs a different, more systematic plan. If crying escalates rather than settles, that's worth involving a certified trainer or your vet.
Should I cover the whole crate or leave a side open?
It depends entirely on the dog. Watch for panting, pacing, or refusing to settle once covered — any of those means leave one side open until they're more comfortable.
Is it okay to feed meals in the crate?
Yes, and it's one of the fastest ways to build a positive association, as long as there's no history of resource guarding — in that case, work with a certified professional first.